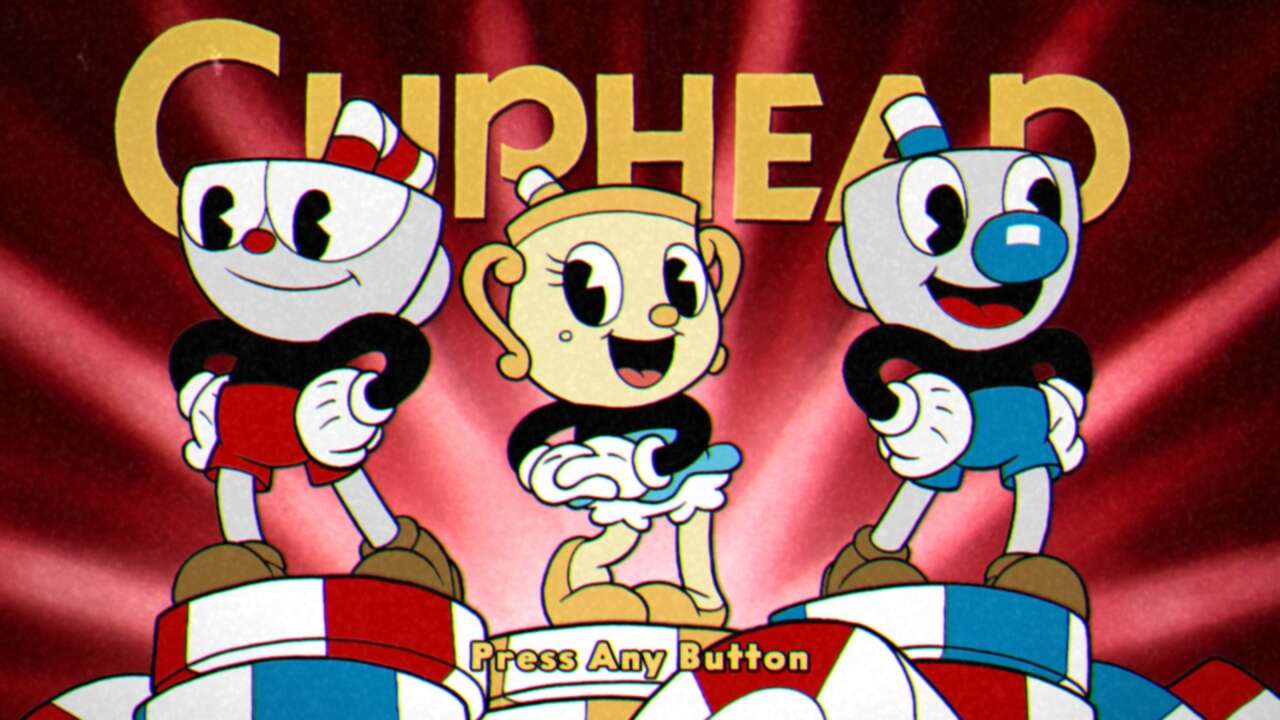
Cuphead: The Delicious Last Course – How To Start The DLC
Some games make you work hard for their DLC, sometimes making you progress hours in the main game before granting you access. Others let you in right from the start. Luckily for fans of Cuphead, the long awaited Delicious Last Course DLC is an example of the latter. Here’s how to reach the new bosses and adventure within minutes of starting a new save file.
Beat the first Run & Gun
After talking to Elder Kettle and completing the optional tutorial, head out the door and across the bridge. Make sure to talk with the Apple on the way, who will give you your first three coins which can be used to purchase new weapons and charms.
On the other side of the bridge, you’ll see a white and red circle on the ground. This is your first Run & Gun challenge, Forest Follies. Dash and shoot your way through the killer foliage, grabbing all the coins you can along the way. Return to the map after completing the level, and there will be a new bridge leading you across the river.
Beat the first Mausoleum

Take the bridge across and head down to find your first Mausoleum. The Mausoleums are all quite quick and painless to beat. Just parry all the pink ghosts before they reach they reach the urn; no need to shoot. At the end, you’ll free Ms. Chalice from the urn, who will reward you with your first Super Art, the Energy Beam.

Head back to the map, and a new NPC will appear with a boat. They will tell you that the Legendary Chalice needs your help in a far off isle. Agree to depart with them, and voila! You’re off to the DLC.
Note: If you’re accessing the DLC in a previous game file that you’ve already made progress in, simply head to the any completed Mausoleum location to find the NPC waiting for you.
GameSpot may get a commission from retail offers.
The products discussed here were independently chosen by our editors.
GameSpot may get a share of the revenue if you buy anything featured on our site.
Check out our Latest News and Follow us at Facebook
Original Source


